HOW TO ADD GPS-DATA TO YOUR PHOTOS
Wouldn't it be nice, while watching photos after a couple of years to determine on which position they have been taken?
Or to add them to Google Earth, Google Maps, Facebook, or Instagram and those tools automatically detect, where you've shot the photo?
Everyone who wants to visit the place you've visited will then see your photo and where you've been... that's great and I'm using this geotagging feature, since it exists.
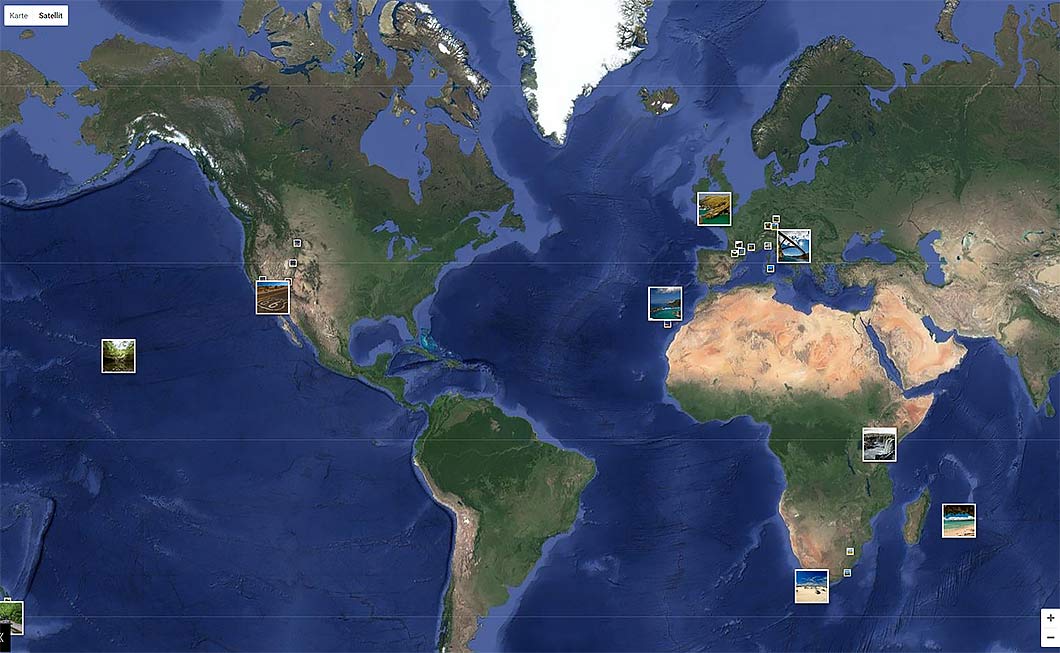
My Photos On GOOGLE - At The Moment I Have Some 5000 Photos Online With Over 2.000.000 Views
Most of the cameras on the market come without a GPS-receiver, apart from some lower end cameras or smartphones.
But what, if you've spend hundreds of dollars for a fancy semi-professional camera?
There are still other possibilities for geotagging your photos. Either you use your smartphone and freeware softwaretools for copying the location data onto your photos or you use some kind of external devices, called GPS Trackers or GPS Loggers.
GPS Trackers
These lil' devices come in different formats, some of them are "hot shoe GPS Trackers", which will be mounted directly onto your cameras hot shoe, or the ones, which you'll keep in your pocket or which you'll wear around your neck, your wrist or elsewhere.
The GPS units for the hot shoe seem to be a bit outdated, there are less on the market.
One comes from CANON, another one from NIKON, they're pretty expensive and doesn't work as they should for this price tag.
BILORA had a nice geotagger, the "GT-01" aka "Bilora Geotagger 118 Photo-GPS". I used it for years without problems, but Bilora or better U-Blox shut down the server and that has been the downside of this tagger. It has been dependent on an internet connection.
Anyway, no need to talk about.
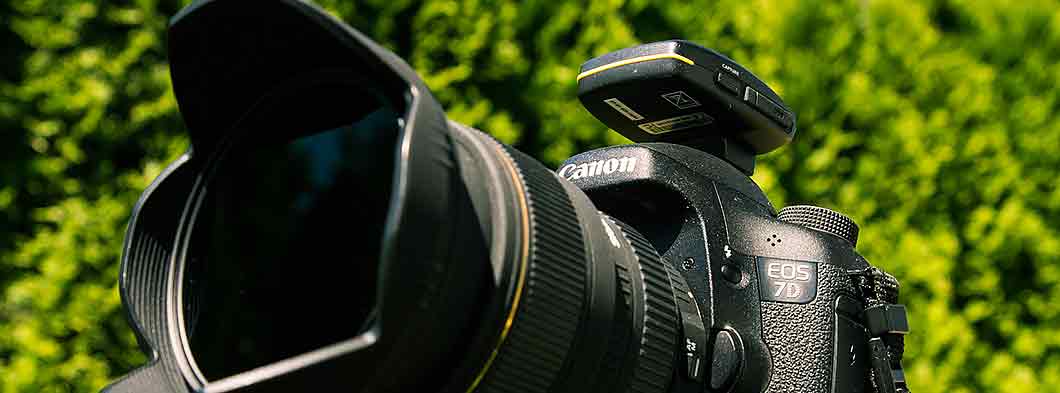
Bilora Geotagger On Canon 7D
Columbus V990 Geotagger
Let's talk about the "classic" GPS-Trackers. They also come in very different formats, mostly for hikers, bikers, climbers and so on, but one can pretty easily "misuse" them for ones own purposes.
OK, "misusing" is a little bit misunderstanding. In the meanwhile the manufacturers offering special softwares for using them together with a digital camera and that is, what I wanna talk about.
As I mentioned in another post about my equipment, I'm using the "Columbus V990 Geotagger".
This handy device is just 72x42x10 mm small and weighs 64gr., which is just nothing 🙂
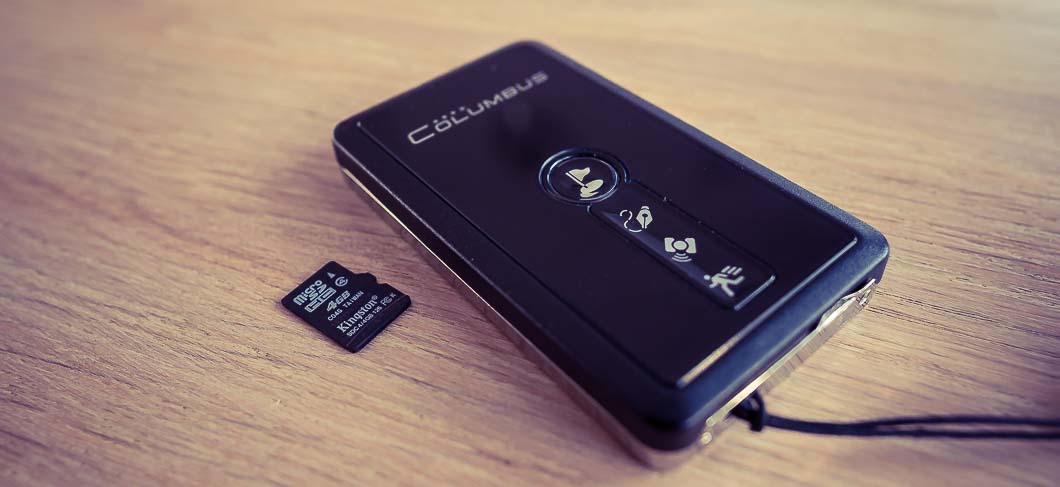
Columbus V-990
It works like it should. By turning it on, it records a waypoint for every second (the interval can be changed inside the software it comes with) and saves it onto a Micro-SD card.
One you've finished your track, simply turn it off, take the Micro-SD card and put it into your computer.
The Micro-SD contains so called CSV-files, which are named by date and incrementation.
With a little tool, called "Time Album for Columbus", we need to convert these files into the GPX-format.
Converting The Data For Google Earth

CSV.files For "Time Album"
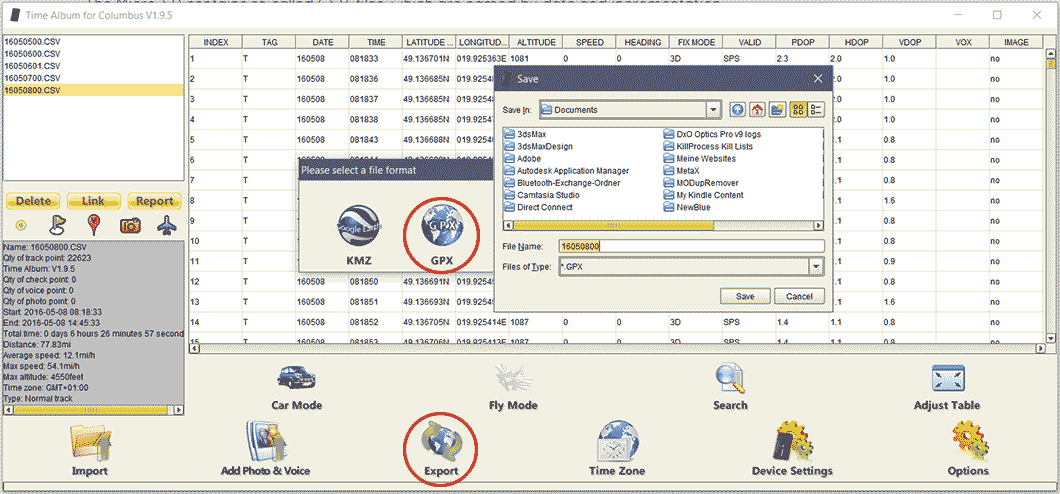
Converting The CSV.files Into GPX With "Time Album For Columbus"
Once converted, these GPX-files can be read by many softwares, no matter if geotagging tools or imaging softwares. GPX is a universal file format and very versatile.
In this case we wanna take a look, how our route looked like, that day, so we'll open the GPX-file in Google Earth.
The blue line indicates the driven route. By the way, it is possible to combine routes. So if you for instance have several routes per day, you can combine them to one single file.
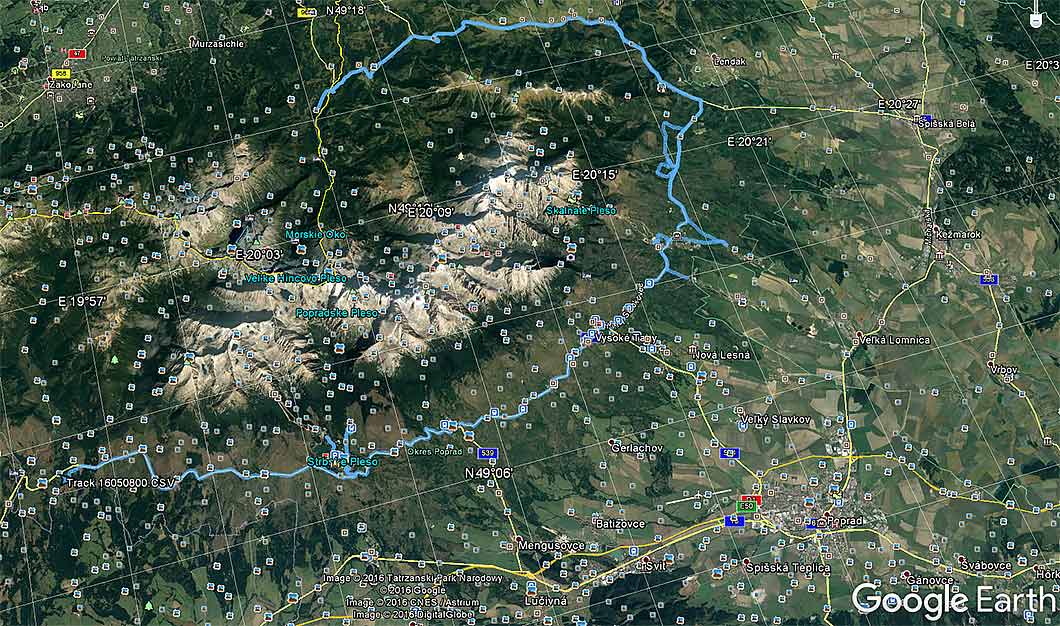
Driven Track On Google Earth
Using Adobe Lightroom For Tagging Your Photos
Now we wanna tag all our photos. When you're using Adobe Lightroom, this is done by just a few clicks. Open Lightroom, import all your photos and switch to the map-panel. In the map window you can load the track by going to the menu-> "Map-> Tracklog -> Load Tracklog".
Select the GPX-file and after importing all waypoints, you'll see the same track, you've seen in Google Earth. Now set the timezone.
By the way: It is important to sync your camera with the Columbus. The GPS tracker works with Universal Time and your camera should be set to the time-zone, where you've taken the photos (do not forget to set the right time inside your camera!)

Importing Track Into Adobe Lightroom And Tagging Photos
As I shot these photos in Slovakia (Europe), I need to set an offset of minus 1 hour in Lightroom.
This is done by going to the menu again-> "Map-> Tracklog-> Time Zone Offset = -1".
Now select all your photos, and again-> Menu-> "Map-> Auto Tag Photos".
It just takes a few seconds (depends on the load of photos) and Lightroom detects automatically the right locations and writes this data directly into the photos or in a so called sidecard, which is a seperate XML-file.
Job done 🙂

Verifying The Written Data In Adobe Bridge
Using Adobe Bridge For Verifiying All Informations
All photos have been properly tagged now, but if you wanna verify again, you can for instance load these photos in Adobe Bridge.
It depends on your configuration of the programm, but you can find these settings under "Metadata".
As you can see, the locations have been written properly, even the height has been set.
There are countless tools outside, which are able to read the location information out of a GPX-file. Lightroom isn't free, but for my purposes the best and fastest tool. Another one is Geosetter by Friedemann Schmidt. This tool has dozens of super cool functions and is free, but a bit more complicated than Lightroom.
Happy Tagging 🙂